|
Head Part
1 | Head Part 2 | Big Brakes |
|
Now the struts are on, let's get ready to accept the brake
setup. This is the right front strut before the backing plates have been
installed. I have to install the necessary washers and lock nuts to stiffen
the car enough before it's put on the ground. Then we will torque everything
when all the weight is back in the car from the motor, hood, trunk, doors
and interior as a final step before the first run down the road. |
 |
|
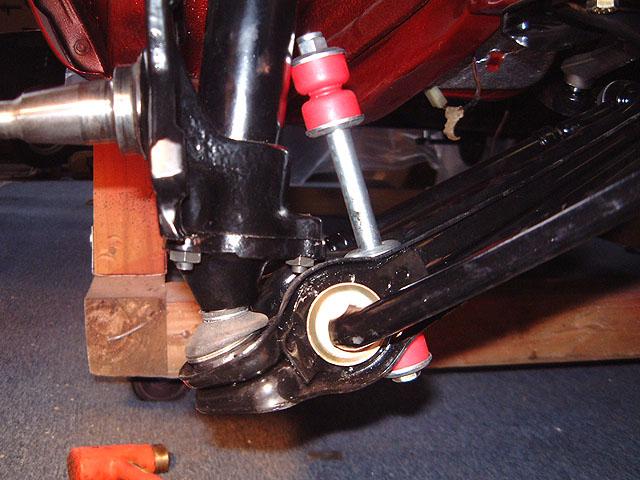
The caliper attaches to the back two bolts on the strut. The
powder coating was in the threads, so you have to tap them out so that
everything goes together. Don't forget to purchase new Grade 10.8 studs to
hold the brakes on - they are not easy to find unless bought from BMW
because the length 35mm is critical to not hit the backing plates. |
 |
|
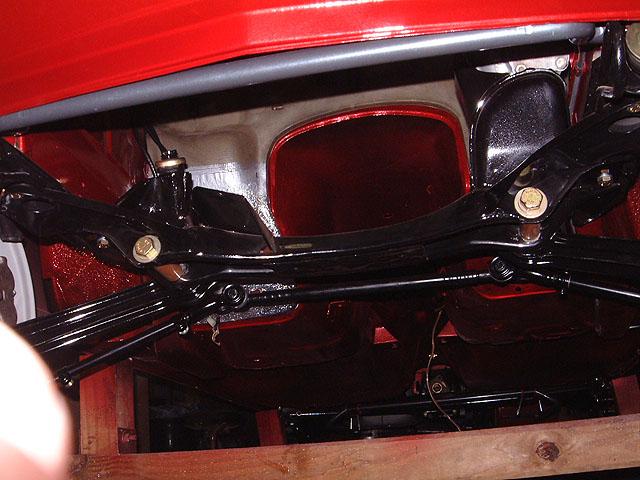
Here is a side view of the front torsion bars. The shiny gold
parts are the NLA washers used on either side. Save yours and have them
replated if you wish... they are not available new. Thanks to Rob Torres for
his help in sourcing these like-new parts! |
 |
|
The washers on the front of the torsion bars are different -
flat on the front, concave on the back. This is before tightening as no
threads show. Originally, BMW used Castle style nuts with cotter keys on
these parts but those are NLA or obsolete I can't tell which because you
can't buy them from BMW, only the Nyloc type. |
 |
|
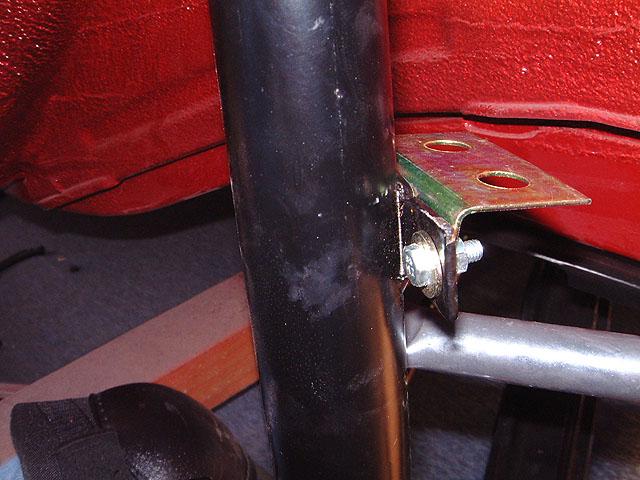
These L brackets are used to hold the brake lines on the
strut. The go in with two new 13mm stainless bolts and nuts to keep from
rusting. |
 |
|
Like this. |
 |
|
I am proud of the work on the backing plates. I did them
myself at Rob Torres' shop about a year ago and they were powder coated the
next day. I chose silver to show off the brakes more. OEM color would of
course dictate black. |
 |
|
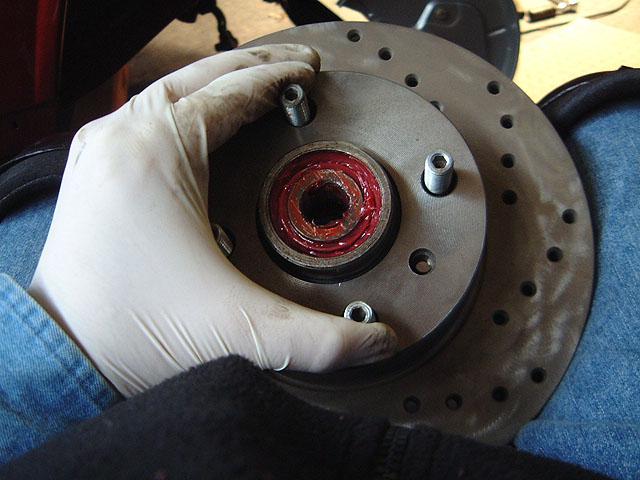
Ok, those hubs we rebuilt last month get ready to be
installed and put to use. There is a special hex nut which holds the hub to
the Brembo rotor. |
 |
|
Tighten that nut up and you have a finished assembly ready to
go on the strut axle. |
 |
|
There is a special washer/spacer and castle nut. These are
available new! Note that I have applied black rust-oleum type paint to the
edges of the brake rotor vents so they will look clean as the car is used
and won't show the rust. I learned this trick from a Porsche restoration
guy! |
 |
|
A close-up view of the washer/spacer and the castle nut. A
cotter key is applied when a wheel is installed and the nut finally torqued
down to the correct specifications. |
 |
|
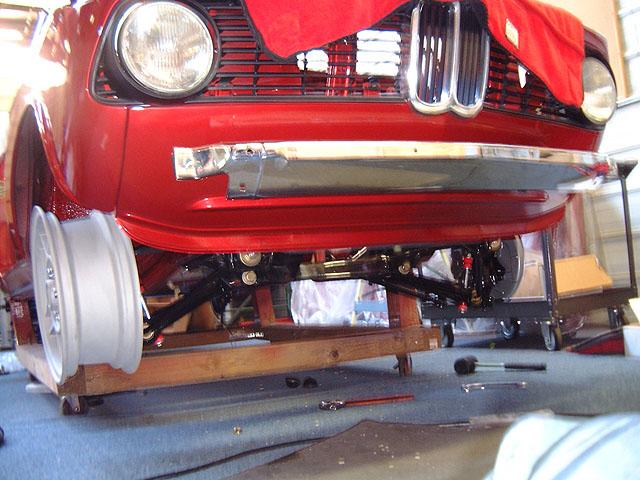
So the front suspension is now completed and on the car for
good. |
 |
|
This looks almost good enough to not want to get it dirty...
but hell you gotta drive it! |
 |
| |
|
Now we go after the BIG BRAKES I
have owned for the car for more than 2 years but not installed! |

