| Being a
BMW, of course the engine is probably the best and the
easiest part to work with because the engineering is so superbly done.
It was also the part about this car I worried the least about since it was
not worn out, just neglected for a decade and not driven much. Once we
opened her up, the contents of the engine confirmed our hunches - that it
was in really good shape. On the outside she was mighty greasy though, and
some of that grease had built upon mold that was from sitting in a damp
place for so long. Don't do that with your car - it's really nasty and green
and hard to get off! (Back view prior to transmission removal). These
photos are a look into the engine in ways the shop manual doesn't really
show you. |
 |
|
A look at the exhaust side of the block. That rusty port on
the back of the cylinder head is what feeds one side of the heater system.
There is an improved part that came from the E30 4 cylinder models that is
better. Get a look at the greasy mold on the back of the transmission!!! |
 |
|
Another view. That hole in the transmission bell housing is
where you shine your timing light and look for the ball bearing on the
flywheel to set perfect time. |
 |
|
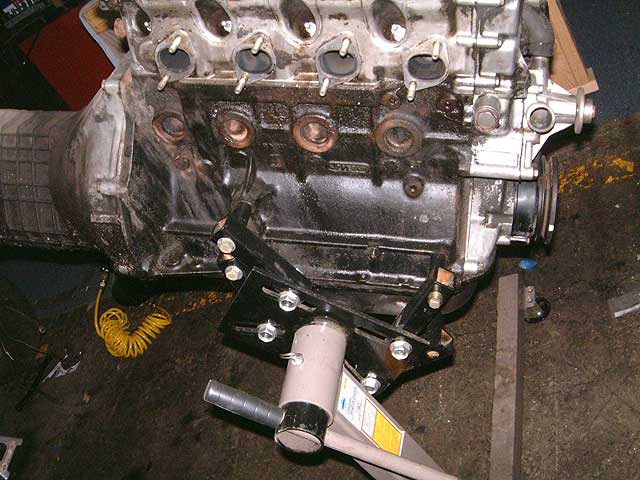
Ok, a trick here. You've not seen an engine mounted to the
side like this, but this is the way BMW does it. (A BMW AG employee
confirmed it for me who worked there in 70s) It makes sense, you want to put
the flywheel and clutch on without having to take it off the stand.
This side of the block is usually greasy because the exhaust studs come
loose and oil leaks onto the block causing one bad mess on the street. Ask
me how I know! |
 |
|
A close up of which engine stud holes I used to mount the
engine with. Thanks to Lars Floden for the use of his brother's engine
stand to get this hunk out of the car and onto the stand. |
 |
|
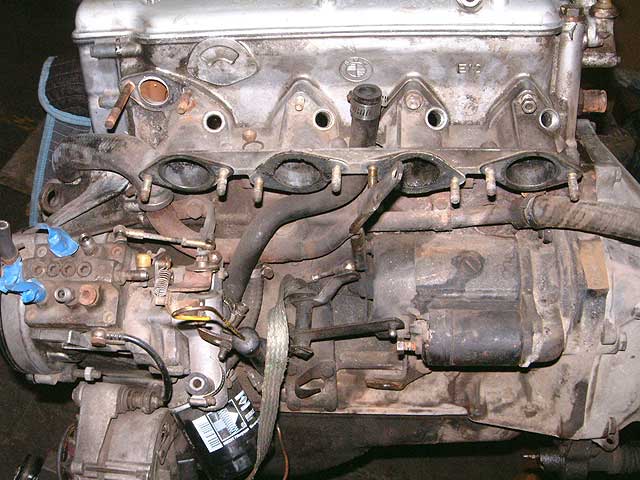
Intake side. This shows the stub manifold for the injectors,
the TII water tube and a bunch of the buried hoses you never see under the
intake manifold. Original TII heads had the passage for the fuel pump of
carb models sealed up, as shown right above the first injector hole to the
left. |
 |
|
Ok, after more parts come off, here's a look at the back of
the kugel pump and the hoses that connect to the block it takes advantage
of. |
 |
|
After the oil pan comes off, a look at the oil pump chain and
sprocket. |
 |
|
The connecting rods and a view of the #3 piston skirt.
|
 |
|
The rear main cap and back of the flywheel. |
 |
|
The oil pump siphon screen that sits down in the deepest part
of your oil pan. The shiny spot in the middle is where I ran a cloth over
the surface to show that dirty oil film collects here. |
 |
|
Another side view of the oil pump and #1 and #2 cylinders. |
 |
|
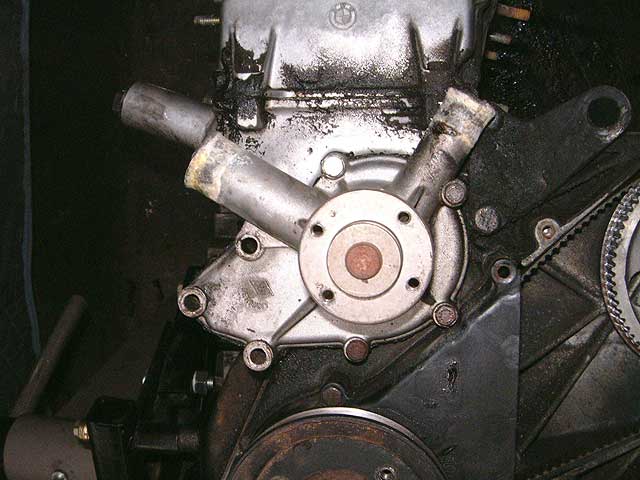
The TII water pump, head on, showing the seven bolts holding
it on. |
 |
|
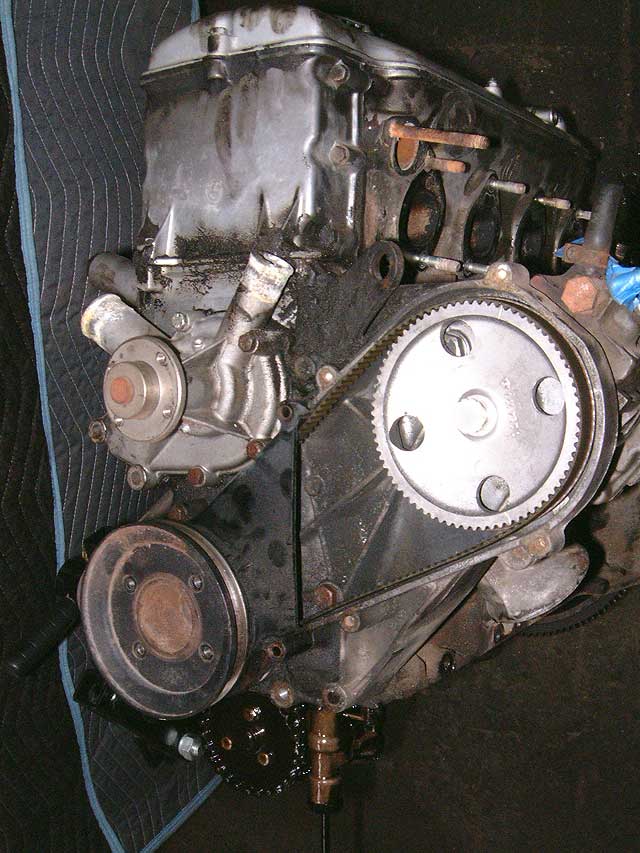
A view of the TII timing cover from the front, with the fuel
injection pump still installed. |
 |
|
Ok, we removed all the intake side parts and have a clean
short block. |
 |
|
Top side, a look at the head. Pretty clean, but varnish
deposits from sitting or having dirty oil in the block or extended periods
of time. |
 |
|
Remove the upper timing cover and the chain is exposed.
|
 |
|
Take out the safety tabs on the screws and the timing
sprocket comes right off. |
 |
|
After taking the head studs loose with a 19mm socket, the
head comes off. The white powdery stuff is from the water passages in the
block. More evidence of sitting for a long time. The stuff is like a chunky
white powder substance. Bad valve stem seals show the result - oil from
deceleration is burned off - the legendary white puff out the tailpipe on
downshift. |
 |
|
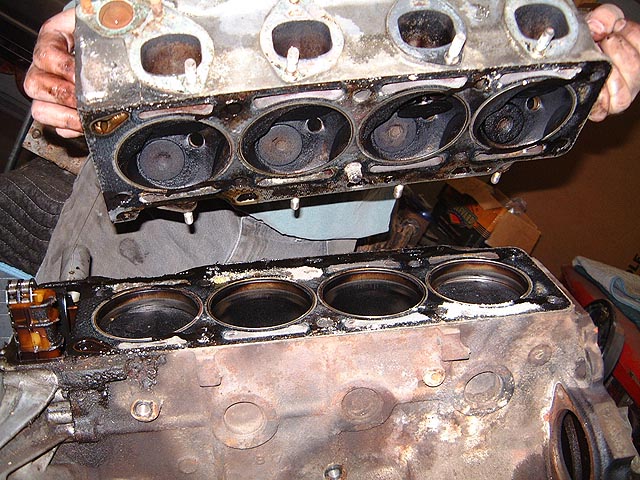
Head gasket still on, you can see the O rings used for the
cutting ring style gasket the TII's and TURBOs use. This is important on
very high compression engines. Piano top pistons are the style used in a 74
TII with E12 head. |
 |
|
A view of the top of all 4 pistons. In this view, Cylinders 1
and 4 down, 2 and 3 up. |
 |
|
A view of the head. The head is in overall good shape, it's
never been opened until this point so this is the factory's handiwork shown.
I'm pleased that I have a good head to leave at the machine shop. |
 |
| |
|
Well, this is the first step, getting it apart. More as we
start to put her together in the next few weeks. |
| |
|
Back to Page 1, or
October Update is here -> |
| |

